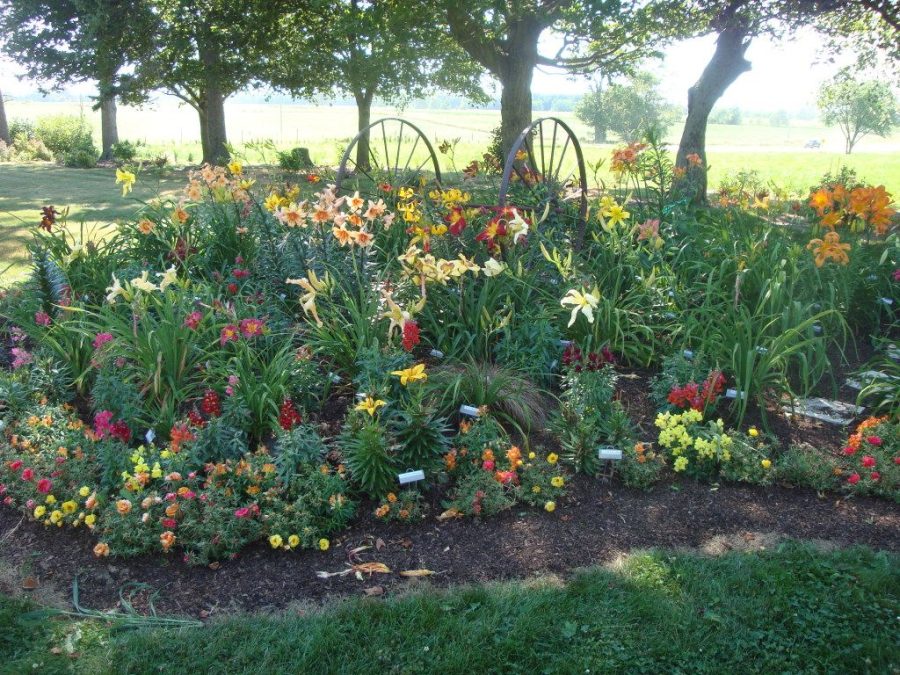
DIG IT: CREATING YOUR OWN GARDEN
May 23, 2022
Let’s get Digging!
It’s springtime and the Slater Newspaper is here to advise you how to build your own garden! A flower garden overflows with opportunities to bring creative inspiration alive. Building a garden is not an easy process, it involves hard work and patience, and these nine steps to guide you throughout the process! You’ll have a beautiful garden in no time!
Step 1: Pick out your plants.
If you are a beginner, it may be best to plant low maintenance required flowers. Do research on which plants will be best to plant according to your weather conditions. Plants are typically classified according to the condition they can survive in outdoors. You will also want to check the dimensions on how big the plant is supposed to grow. The dimensions of the plant when it is full grown will determine on how big your garden should be.

Step 2: Mark your plan.
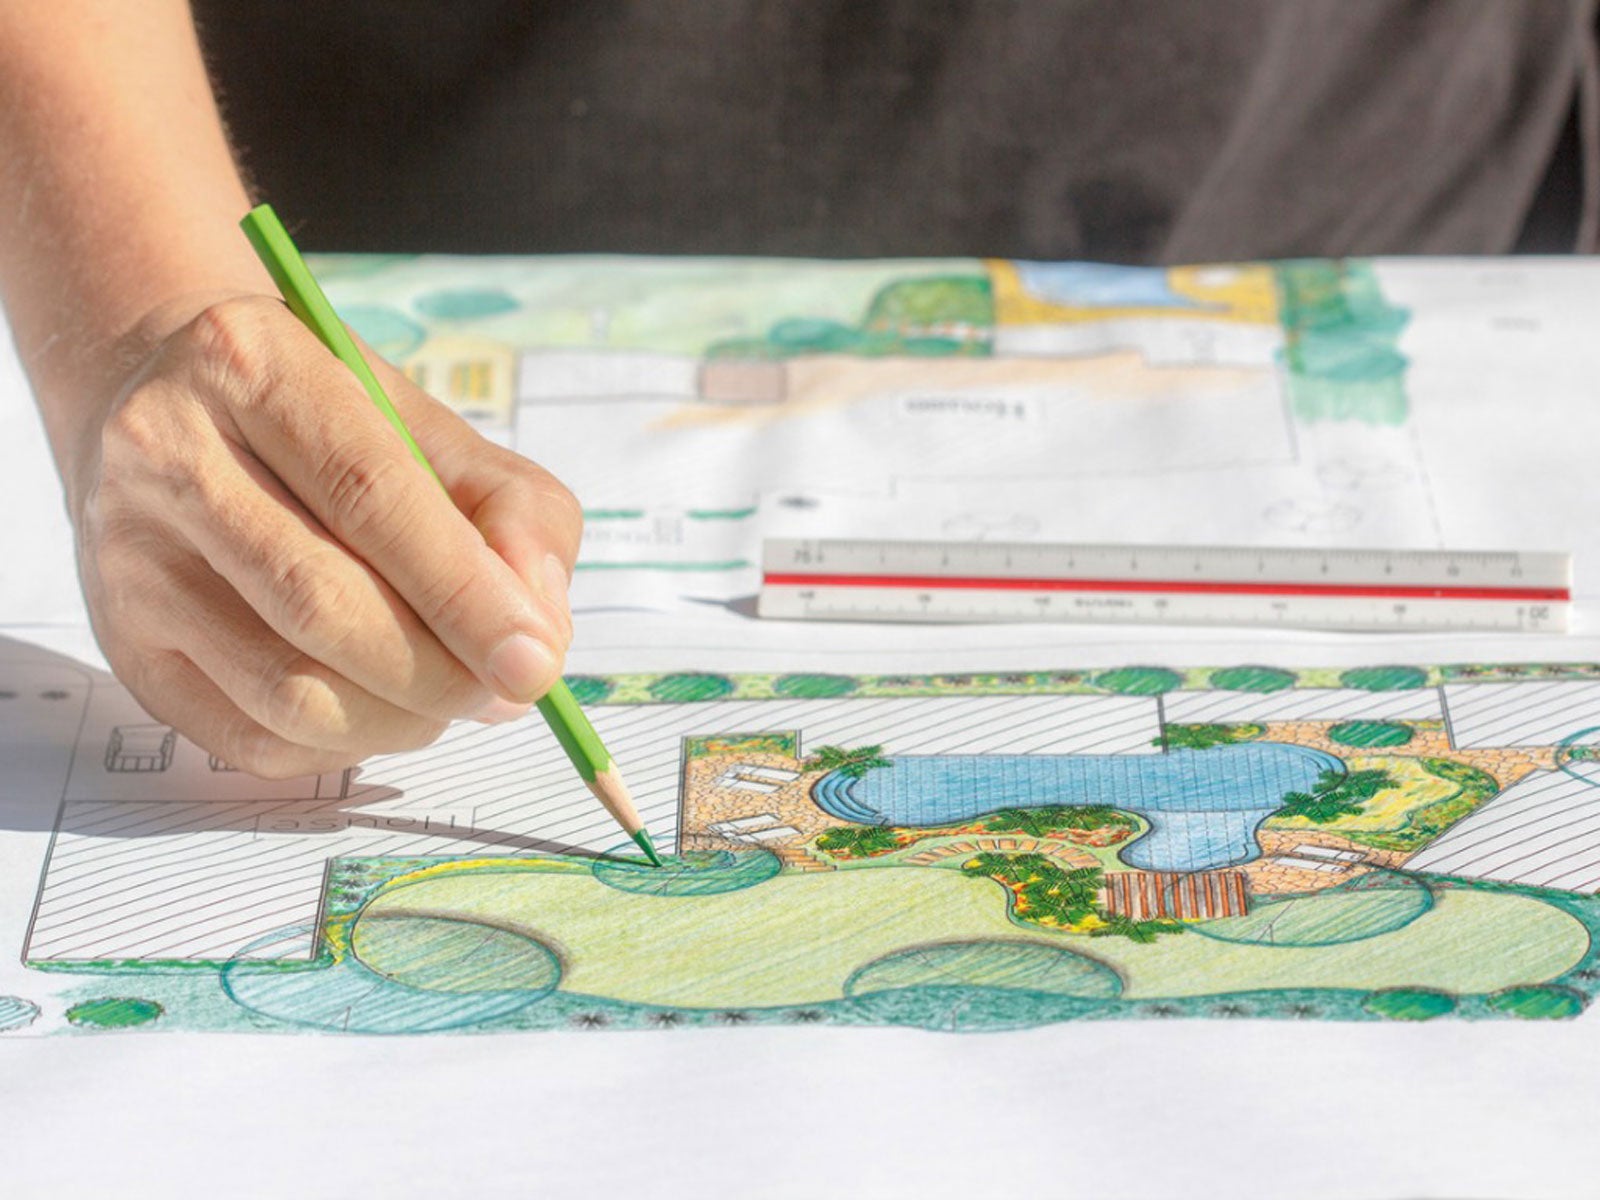
For an example, if you were planting Day Lilies, Marigolds, and Peonies, you would want your garden to be a decent size, around six by eight feet would work based on their size range. You also need to take into consideration if the plant multiplies. This would take up more space in your garden so your garden size may vary based on your chosen plants. Then go outside and measure your space. Make points and lines using spray paint to mark out the outline.
Step 3: Strip the sod.
Before planting, you must strip out the sod on the inside of the markings. Removing the grass provides room for plants to grow and eliminates competition for water and nutrients. When achieving this step, it is key to have a very sharp spade shovel. If your ground is rockier, after you strip the sod, shake off any excess dirt to allow more material to work with.
.jpg)
Step 4: Amend the soil.
If you have a newer home, your soil may be rockier. Rocky soil is bad because the rocks block the plant from getting its proper nutrients. Nitrogen, phosphorus, and potassium can be found in soil, which is all needed for growth. You can add a couple inches of compost to the surface to help fertilize and elevate the garden. This will also add a much-needed organic matter to better the soil.
:max_bytes(150000):strip_icc()/making-good-soil-out-of-bad-1402428-03-381c98b59d3b4c008639b0557ce28453.jpg)
Step 5: Start planting.
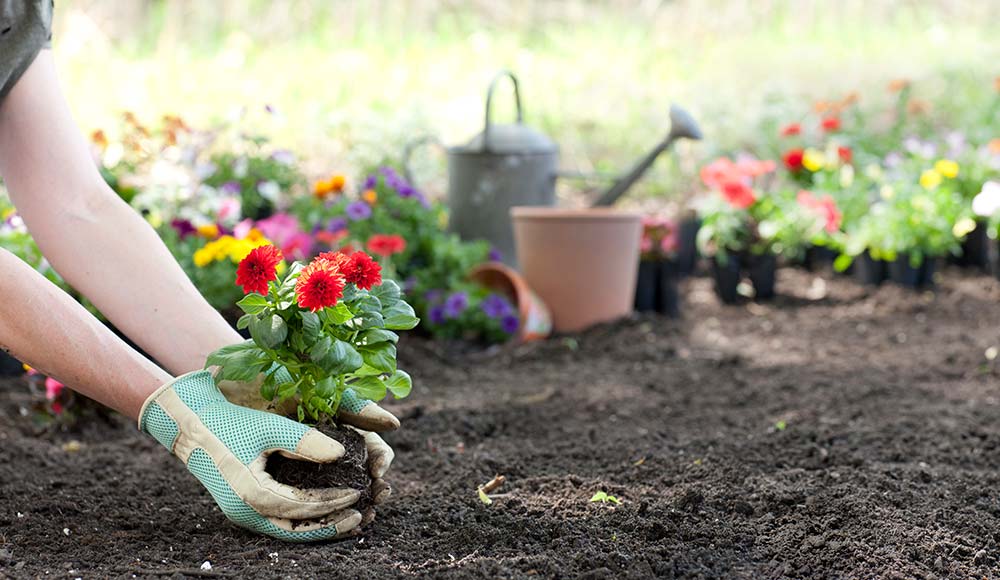
If you’re planting in a heavier soil, it is best to dig shallower then what you would originally do. You want the root of the plant to stick up more than usual. Fill the edges of the root in with extra dirt or compost. The plant should look a little bit elevated, picture something under the plant holding it up to make it higher.
Don’t forget to water the plant! Pour a couple inches of water into the hole before you set the plant in. Once the plant is safely planted, water it again to ensure any air pockets. Then just repeat this process for each plant.
Step 6: Stop and look.
Since the plants have been planted, step back and look at your work. If something doesn’t look right, whether it is the placement of your plants or the plants themselves, don’t worry because changes can always be made. If adjustments need to be made, then it is best to make them before mulch is spread or else it could be more difficult.
Step 7: Spread Mulch.
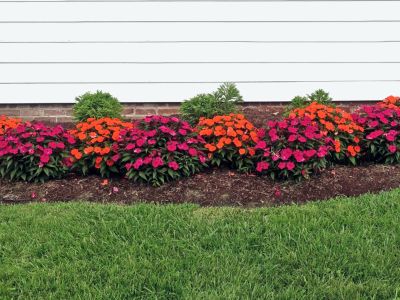
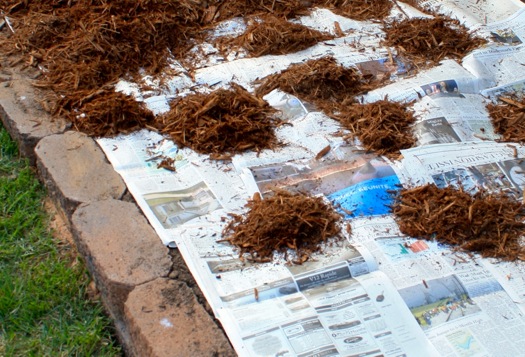
In winter, mulch protects the soil, prevents erosion, and protects your plants. In spring, mulch locks in moisture, blocks weeds, and feeds the soil. If you want the garden to look tidier, then you could put newspaper between the soil and mulch. The layer of newspaper helps block the light so weeds cannot poke through as often. After you layered the newspaper, spread two- four inches of mulch on top of the newspaper.
Step 8: Maintain the garden.
With everything tucked in and finalized, make sure each plant is watered at least an inch a week. It is important to pull any weeds before you water the plants because if you water the weeds and then pull them, you’re basically feeding the weeds, and they will continue to sprout.

Step 9: Enjoy it!
This process was not easy, so take a look and admire your hard work!


